
May
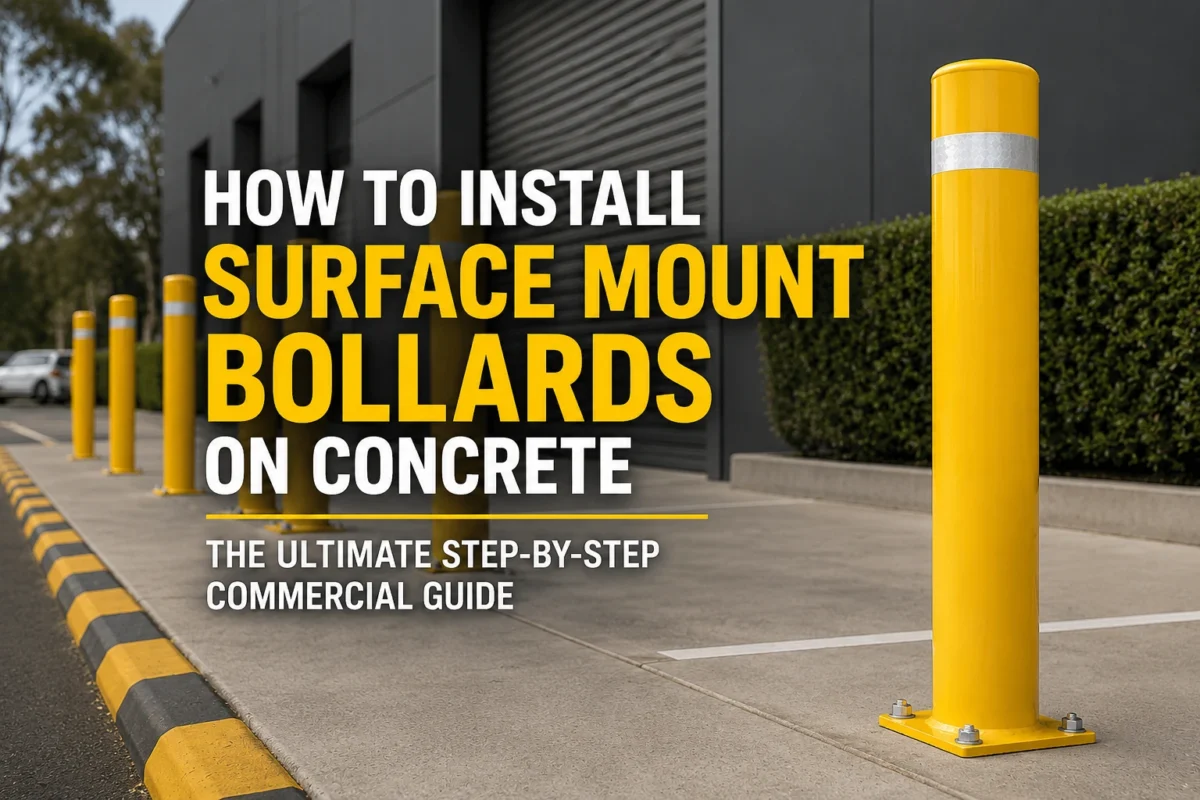
How to Install Surface Mount Bollards on Concrete: The Ultimate Step-by-Step Commercial Guide
⚡ Quick Answer: How to Bolt Down Surface Mount Bollards
Installing surface mount bollards on concrete takes under an hour per bollard: mark positions → inspect the slab → drill anchor holes → clean out debris → seat the base plate → torque M12 or M16 stainless steel anchor bolts in a cross pattern. Keep reading for every spec, compliance note, and pro tip you need to get it right the first time.
Knowing how to install surface mount bollards on concrete correctly separates a long-lasting commercial safety installation from a costly failure. Whether you manage a Sydney car park, a busy loading dock, or a warehouse in Western Sydney, bolt-down surface mount bollards deliver fast, no-excavation protection for your assets, your people, and your infrastructure. At Uneek Metalcraft, we engineer and supply Australian-made steel bollards every day, so this guide reflects real-world installation knowledge, not just theory.
Unlike in-ground bollards that require core drilling and concrete pours, surface mount bollards bolt directly onto an existing concrete slab through a pre-welded base plate. That means faster installation, lower disruption to operations, and straightforward removal or repositioning when your site layout changes. Nevertheless, fast installation does not mean a casual installation — the anchor spec, concrete condition, and correct torque all determine whether your bollards actually stop a vehicle impact.
Throughout this guide we cover everything from choosing the right bollard diameter to achieving compliance with AS/NZS 2890.1. We also link to the relevant Uneek Metalcraft product range so you can source the correct bollard before you pick up a drill.
1Surface Mount Bollards vs In-Ground Bollards: Which Do You Need?
Before you order anything, confirm that a surface mount is the right installation type for your site. Both options protect assets and pedestrians, yet they suit different situations.
- No excavation required
- Bolt onto existing poured slab
- Relocatable when layout changes
- Car parks, warehouses, retail
- Medium-to-high impact protection
- Embedded deep into concrete footing
- Maximum vehicle-stopping force
- Anti-ram & perimeter security
- Permanent — not easily relocated
- Structural engineer sign-off needed
Surface mount bollards suit sites where the slab is already poured, excavation is impractical, and medium-to-high impact protection is sufficient — think car parks, warehouse entries, retail storefronts, and pedestrian zones. You can read more about the broader protective role bollards play in our guide on how to protect your commercial property with bollards.
In-ground bollards, by contrast, embed deep into a concrete footing for high-security or anti-ram applications. If your risk assessment identifies those needs, check our article on Australian bollard rules and AS/NZS standards first, then consult our team for the right product.
2Choosing the Right Bollard: Size, Diameter, and Application
Selecting the correct diameter before installation is critical. An undersized bollard offers inadequate impact resistance; an oversized one wastes budget and may create trip hazards. The table below summarises the Uneek Metalcraft bollard range alongside their recommended commercial applications.
| Diameter (O.D.) | Wall Thickness | Typical Asset/Security Application | Impact Profile |
|---|---|---|---|
| 63.5 mm | 2.0 mm / 3.6 mm | Pedestrian delineation, light zoning, bike paths | Low-velocity/Guidance |
| 90.0 mm | 2.0 mm / 3.6 mm | Car spaces, property boundaries, retail lanes | Medium protection |
| 114.3 mm | 3.0 mm / 4.5 mm | Loading bays, warehouse roller doors, fuel pumps | High asset protection |
| 140.0 mm | 3.5 mm / 5.0 mm | Heavy industrial areas, freight hubs, anti-ram lines | Maximum resistance |
| 165.1 mm | 4.0 mm / 5.0 mm | Substations, extreme industrial machinery shields | Heavy commercial shield |
If your project calls for distinct architectural styling, remember that finishes matter. Check out our deep-dive comparison on the best metal finish for coastal environments to balance corrosion defense with clean site optics.
3Essential Installation Tools & Hardware Checklist
Do not improvise structural anchors. To ensure a reliable commercial deployment, prepare your kit in advance. Ensure you select matching masonry drill bits matching your target bolt sizes.
- ✓ Commercial Hammer Drill (SDS-Plus or SDS-Max)
- ✓ Heavy Masonry Drill Bits (matching 12mm or 16mm specs)
- ✓ High-Pressure Air Pump or Hole Cleaning Wire Brush
- ✓ Heavy Duty Socket Set & Extended Breaker Bar
- ✓ Calibrated Torque Wrench (for proper anchor load setup)
- ✓ Heavy Chalk Liner, Laser Line, or Marking Pencils
- ✓ Industrial Safety Gear (Dust mask, hearing protection, safety specs)
- ✓ High-Build Zinc-Rich Cold Galvanizing Spray
Choosing Your Concrete Floor Fasteners
The standard anchor types used for fixing surface-mounted plates onto concrete are:
1. Screw-In Concrete Anchors (e.g., AnkaScrew / Excalibur): These feature self-tapping cutting threads that grip tightly down the length of the hole. They require lower edge distances than sleeve expansion fasteners and are completely removable, preserving clean concrete access if configurations adapt later.
2. Sleeve Expansion Anchors (e.g., Dynabolt): A internal wedge expands a perimeter sleeve inside the substrate as you tighten the nut. Essential for deep installations, but requires stable concrete matrices to prevent localized micro-cracking.
Pro Material Tip: Always source high-grade galvanized or stainless steel fastening kits for outdoor car parks. Mild-steel alternatives quickly generate tracking rust lines across clean architectural pathways.
4Substrate Verification: Minimum Concrete Requirements
A surface mount installation is only as strong as the concrete block supporting it. Bolting a high-strength commercial steel pillar onto old, weak, or thin concrete renders the impact framework useless under load.
Slab Evaluation Guidelines: Always check that the site area is clear of deep edge cracks, signs of water scaling, or structural spalling. If concrete boundaries crumb under low physical weight, surface anchors cannot seat securely. For comprehensive structural frameworks, look over our Custom Fabrication Cost Guide to budget proper foundational remediation beforehand.
5Step-by-Step Installation Process
Follow this execution logic meticulously for every surface-mounted post down your boundary line to ensure square tracking and balanced anchor loads.
Marking Out and Site Layout Setup
Establish a crisp, straight reference line using a surveyor’s string or laser guide. Position the base plate directly over target centerlines and use a mechanical marker to mark the exact hole positions onto the concrete surface.
Pilot and Core Drilling Execution
Set your hammer drill depth guide exactly 10mm deeper than the length of your fastener thread. Keep the drill perfectly perpendicular to avoid oval-shaped holes, which severely drop fastener friction ratings.
Deep Anchor Hole Cavity Cleaning
Use a deep hole brush or specialized blowout pump to remove all loose stone powder and dust from the hole. Leaving masonry dust in the hole prevents anchors from seating completely, which can reduce their holding capacity by up to 40%.
Anti-Corrosion Base Protection Coating
Vacuum up any remaining dust around the hole. Spray the bare concrete holes with cold-galvanizing compound to add a secondary moisture shield before setting the metal baseplate over them.
Fastener Positioning and Depth Seating
Drop structural washers over each base-plate entry slot. Push your concrete screw bolts down into the cleared channels manually before introducing mechanical torque drives.
Balanced Cross-Pattern Torque Application
Tighten the anchor bolts using a diagonal cross pattern. This ensures the base plate beds down flat against the concrete without warping or setting unevenly.
Final Leveling and Plumb Inspection
Place a spirit level against the side of the bollard post. If structural floor slope creates minor alignment issues, tap specialized stainless steel shims underneath the base plate before tightening everything down.
Installation Cleanup & Security Verification
Vacuum up any leftover masonry dust from around the base plate. Ensure the top safety caps are firmly seated to keep water out of the core.
6Critical Mistakes to Avoid During Installation
Avoiding these common missteps will ensure your asset protection barriers remain rigid over decades of heavy service:
Drilling Shallow or Angled Fastening Holes
If an anchor hits a shallow floor base, the bolt head cannot pull the base plate flat. This creates a loose connection that wobbles when touched and offers no impact resistance.
Ignoring Dust Clearing Requirements
Compressing old concrete dust at the bottom of a hole keeps fasteners from locking properly. This can cause screw threads to strip prematurely during final torque checks.
Over-Torqueing with Impact Guns
Using raw pneumatic power without check limits strips out concrete threads or snaps high-tensile anchor bolts entirely. Always finish connections with manual torque tools.
Installing Right on Concrete Edges
Placing mechanical anchors too close to an unsupported slab edge can cause the concrete to shear under impact. Maintain proper edge distances as specified by structural engineering codes.
7Australian Standards & AS/NZS 2890.1 Compliance
Commercial compliance across New South Wales car park layouts requires adherence to explicit structural and spatial guidelines:
Bollard Spacing: In accordance with AS/NZS 2890.1 (Off-street car parking), perimeter barriers protecting thoroughfares must be spaced closely enough to block standard vehicle track profiles. This usually means a clear gap of 1.2 to 1.5 meters between posts to allow pedestrians through while keeping vehicles out.
Visual Contrast Ratios: Safety posts must stand out clearly against their background environment. To maintain safety compliance, ensure your posts feature high-visibility coatings or bright reflective bands. This makes them easy for drivers to see in low-light basement garages or dark loading docks.
For more details on compliance, read our guide on Australian Bollard Rules & Standards.
8Long-Term Maintenance and Asset Management
Keep your defensive steel posts looking pristine and functioning reliably with a simple, scheduled preventative care routine:
- Check anchor bolt torque levels
- Look for hairline fractures around base plates
- Wash down coastal dust buildup
- Inspect and clean high-vis reflective bands
- Touch up surface chips with safety paint
- Check structural plumb level indicators
- Inspect internal cores for moisture signs
- Re-seal baseline margins if needed
- Review site traffic patterns for layout updates
If your warehouse setup needs additional protection against heavy warehouse traffic, read our practical guide on preventing forklift damage to structural infrastructure columns, or check our tips on using corner guards and downpipe shields in modern commercial properties.
Secure Your Site with Uneek Metalcraft Bollards
Don’t compromise on asset safety. Get heavy-duty steel protection engineered specifically for tough commercial car parks, warehouses, and industrial layouts across Australia.
Explore Full Commercial Range ➔Need expert layout support or an acoustic compliance assessment? Talk to our Sydney team today
